Monthly Archives: January 2016
Cold, Hard, Concrete Countertops at Project Dimmel HQ
All you really need to know is this: It works. It looks amazing. You should do it. It’s easy.
Phase 33 of ProjectDimmel’s 5-year kitchen remodel plans proceeded right on schedule. The goal was simple; transform our milquetoast laminate countertops into a showpiece that can meet the punishing demands of the Project Dimmel staff. What’s that? Simply replace your laminate countertops with quartz, you say? This ain’t Project Rockefeller, my friend. We’re on a budget over here and we wanted to see if we could increase our swagger for, let’s say, fifty bucks. Good news for similar households…you can!
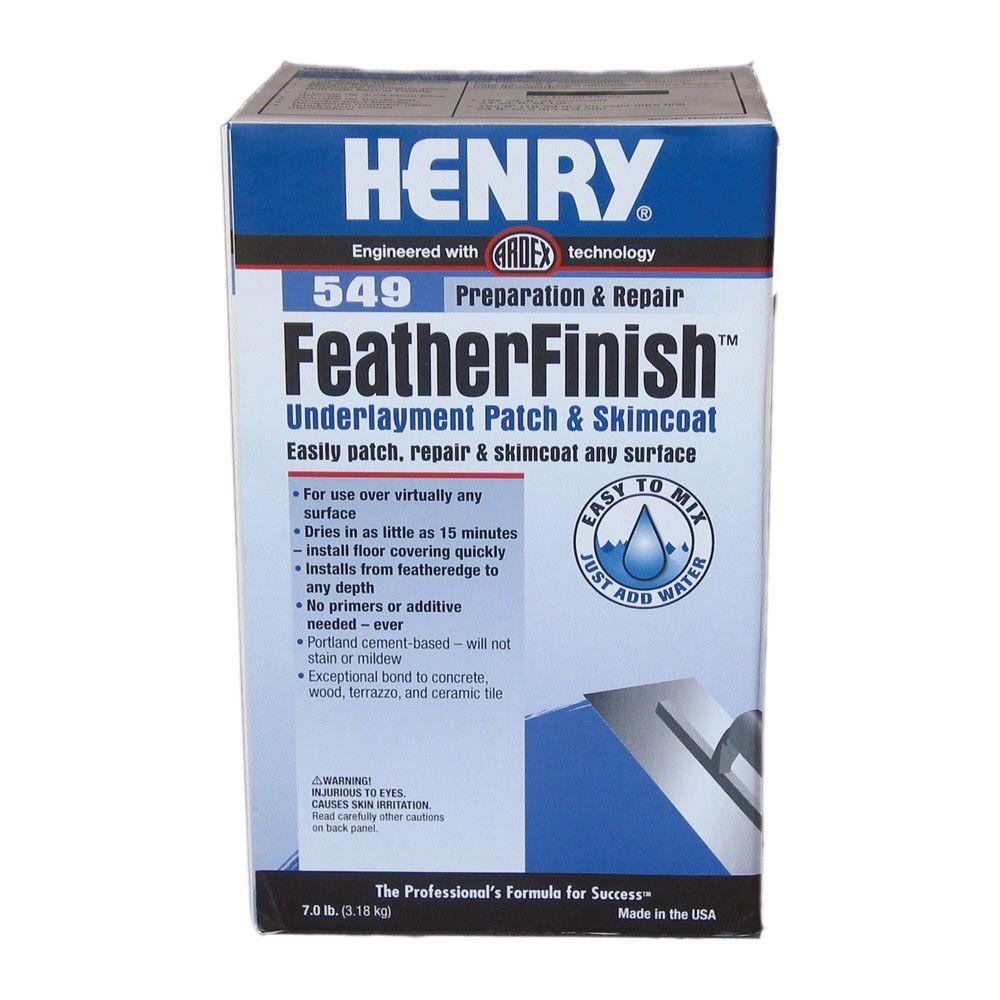
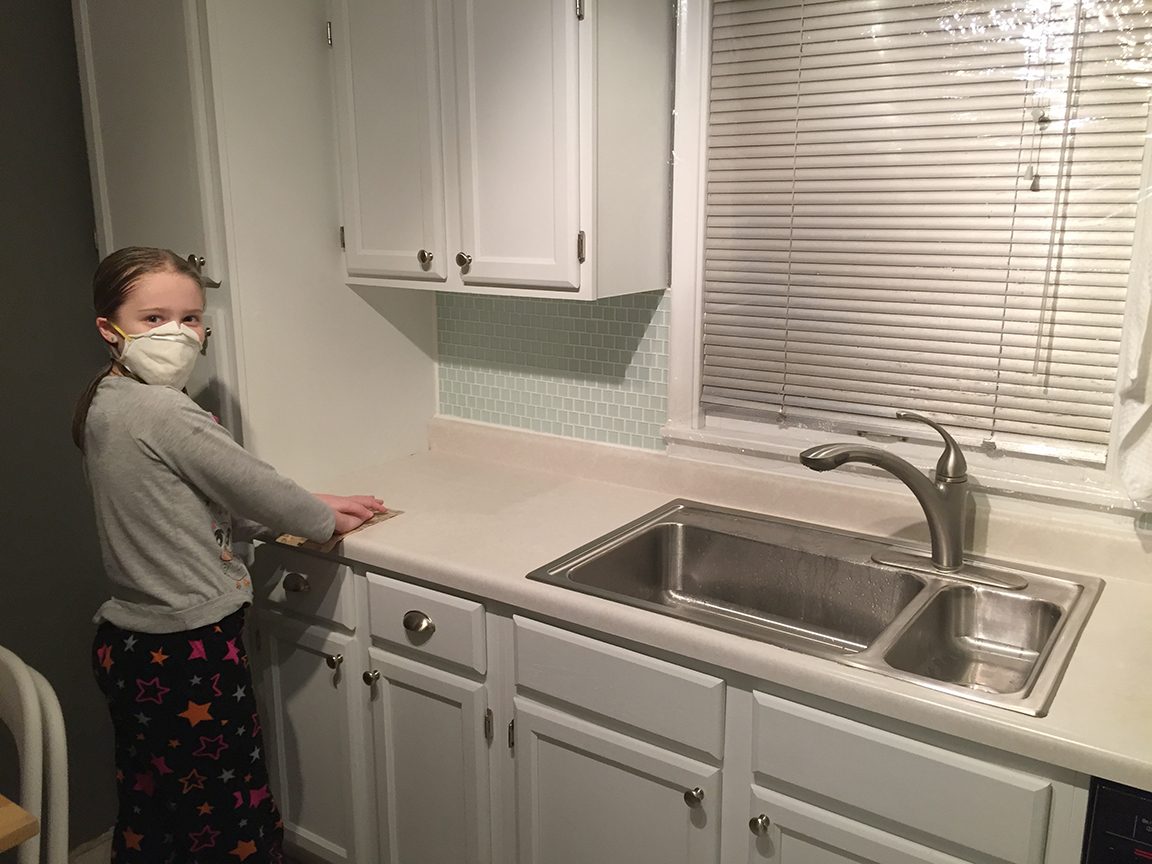
Here’s what we were up against: underwhelming, off white laminate. Not unlivable, but wrong all the same. Phase 25 had seen the addition of a lovely blue, mosaic tile backsplash while phase 31 ushered in a Polaris White paint job for our scabby maple cabinets. A great leap forward to be sure, but it cast a rather harsh light on the bland, off-white countertops. The answer? Ardex Concrete FeatherFinish.
With $50, a stout heart and a willingness to live without running water in your kitchen for 3-5 days, you can create a stunning feature for your kitchen. Pick up two boxes of this stuff ($15 a piece), the largest taping knife your space will allow, painters tape, a roll of 3 mil. poly (to seal off the area while sanding), and a few variety packs of sandpaper. Wanna learn how? Let’s get nuts…
First off, in order for the concrete to adhere, you need to abrade the laminate. You’re about to go HAM on your countertops with 60 grit sandpaper so this is the point of no return. Look, concrete is going to adhere no matter what, but the more you roughen and abrade the laminate surface, the better and longer the concrete will last so work with that in mind. We abhor manual labor here at Project Dimmel so we employed undocumented children for this task. You should too, you won’t regret it!
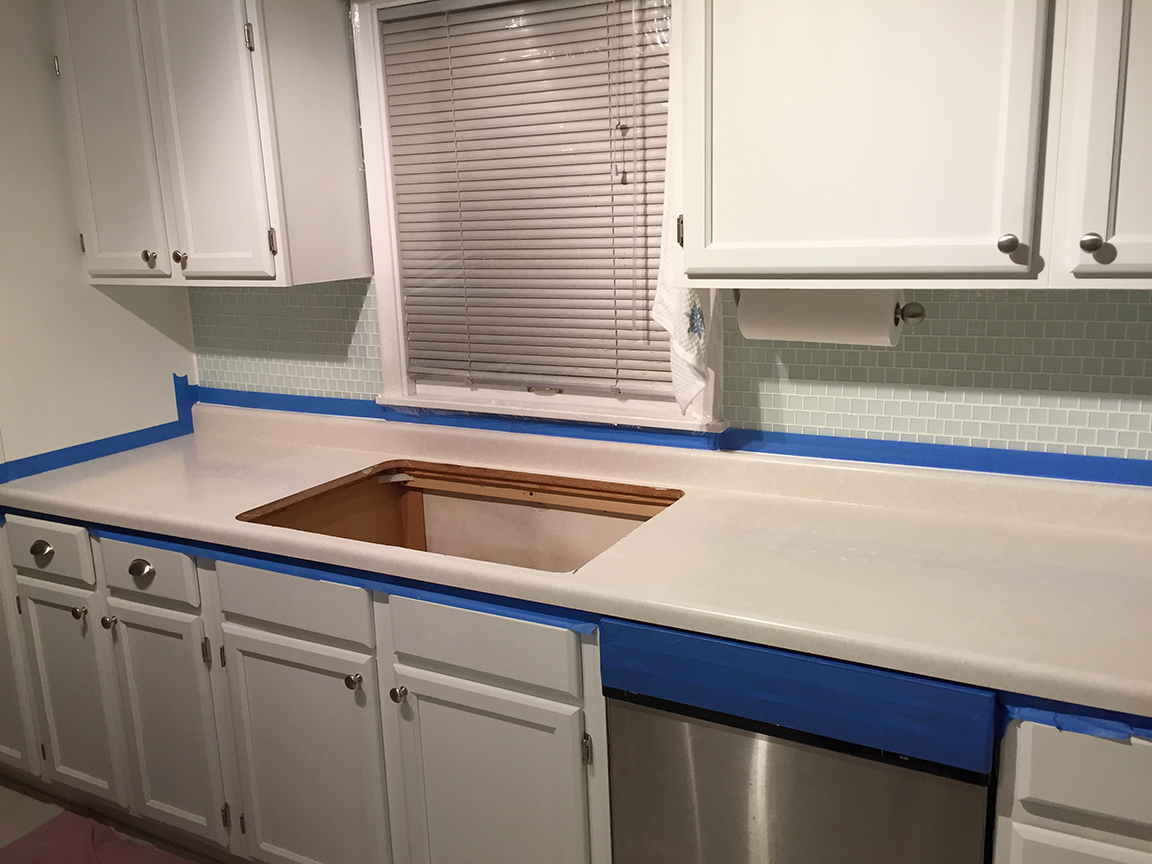
Next: You’re going to want to tape off the area. I know this sounds fussy, but tape it off before each skim coat and remove it right after you apply the concrete. Otherwise you will trap the tape under the concrete and be sent to the Gulags. And for all that is sacred people, pull your damn sink. This will be the hardest (nastiest) part of the job, but it’s the right thing to do and there’s nothing more to say about it. Be a damn American for once in your life.
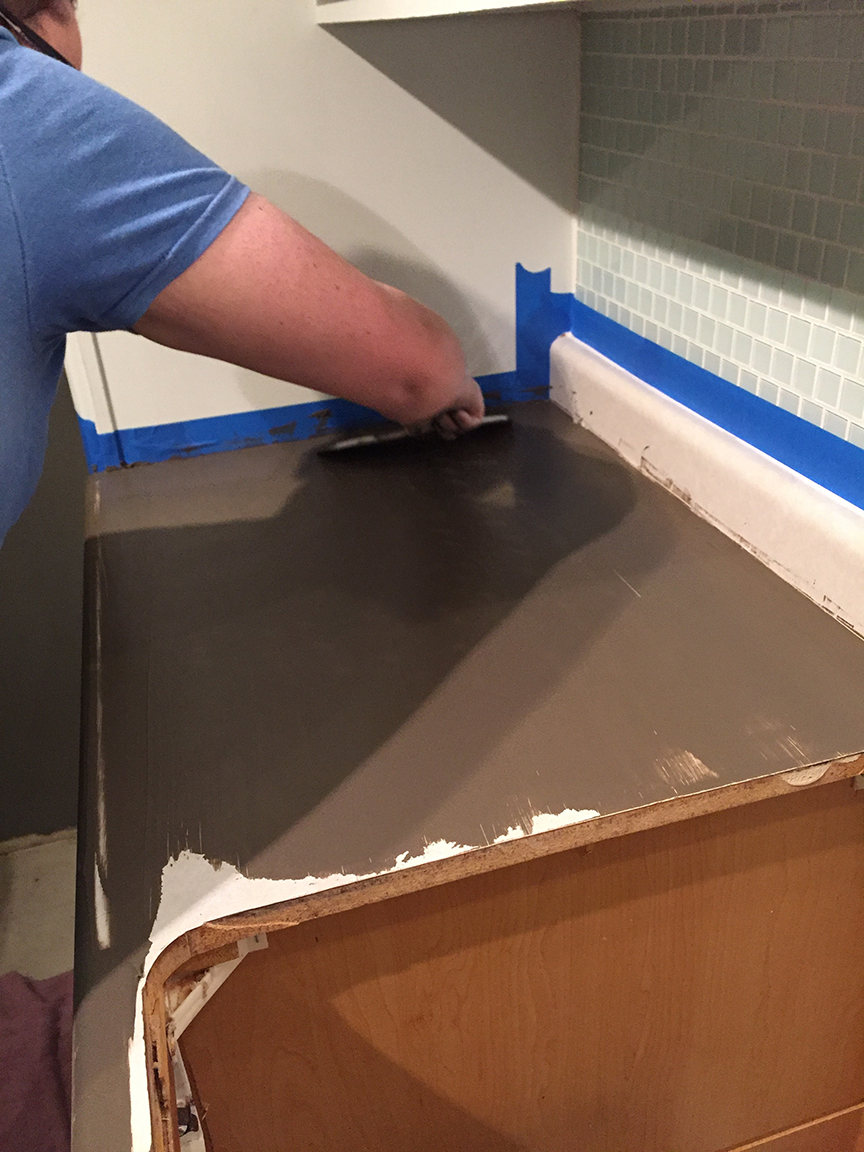
This isn’t always noted in other concrete countertop how-tos, but you really ought to trowel and sand the concrete in the direction that your countertops flow. It is possible to impart a grain, if you will, to the concrete and working lengthwise or widthwise on your countertops while applying and sanding the concrete will make this happen. Follow the directions on the box and have at it. The stuff dries quick though, so it’s better to mix small batches and work in one small area at a time.
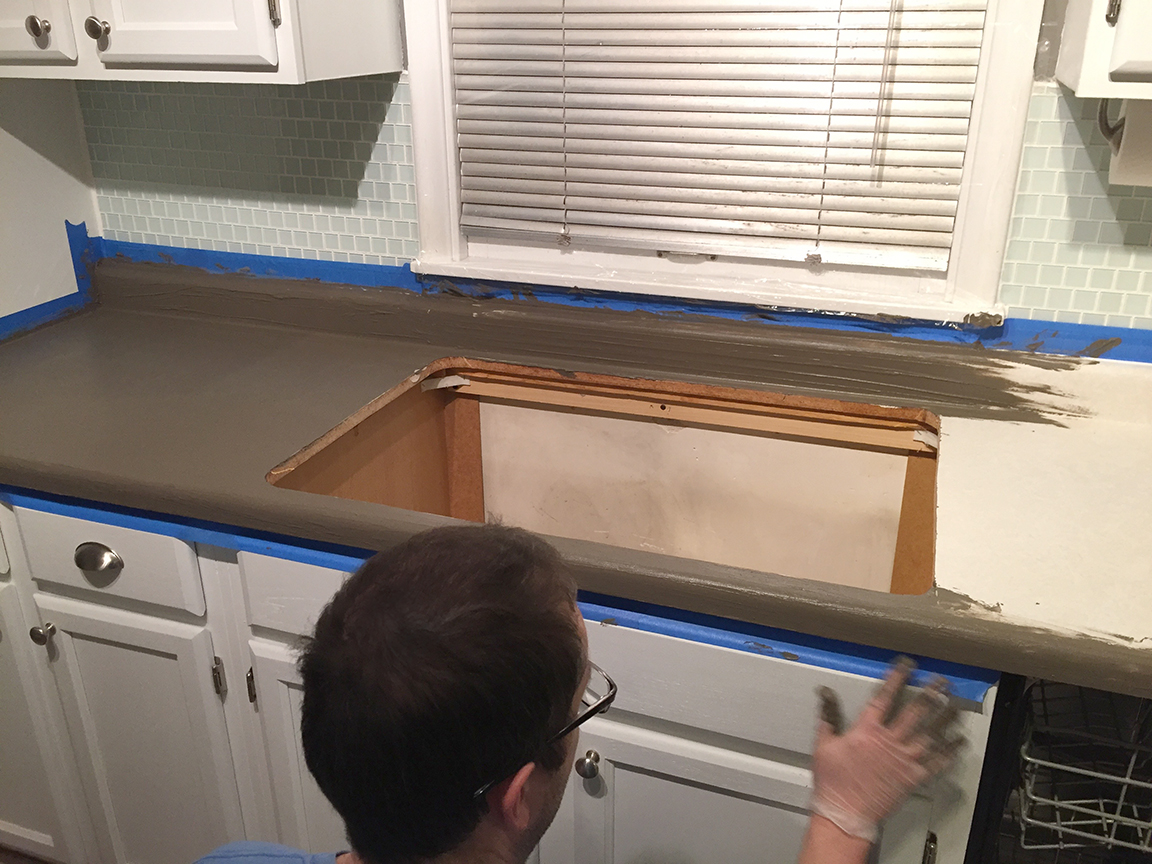
For rounded and bullnose countertops, you’ll need to work the edges by hand. Wear rubber gloves and wet them down a bit. This will allow you to spread and shape the concrete and work it into the nooks and crannies. Is it a bit thin here or there? Probably. But I strongly recommend three skim coats of concrete. If it’s light (or if you sand through a layer) don’t panic on the streets of Carlisle, just give that area a little more love on the next coat.
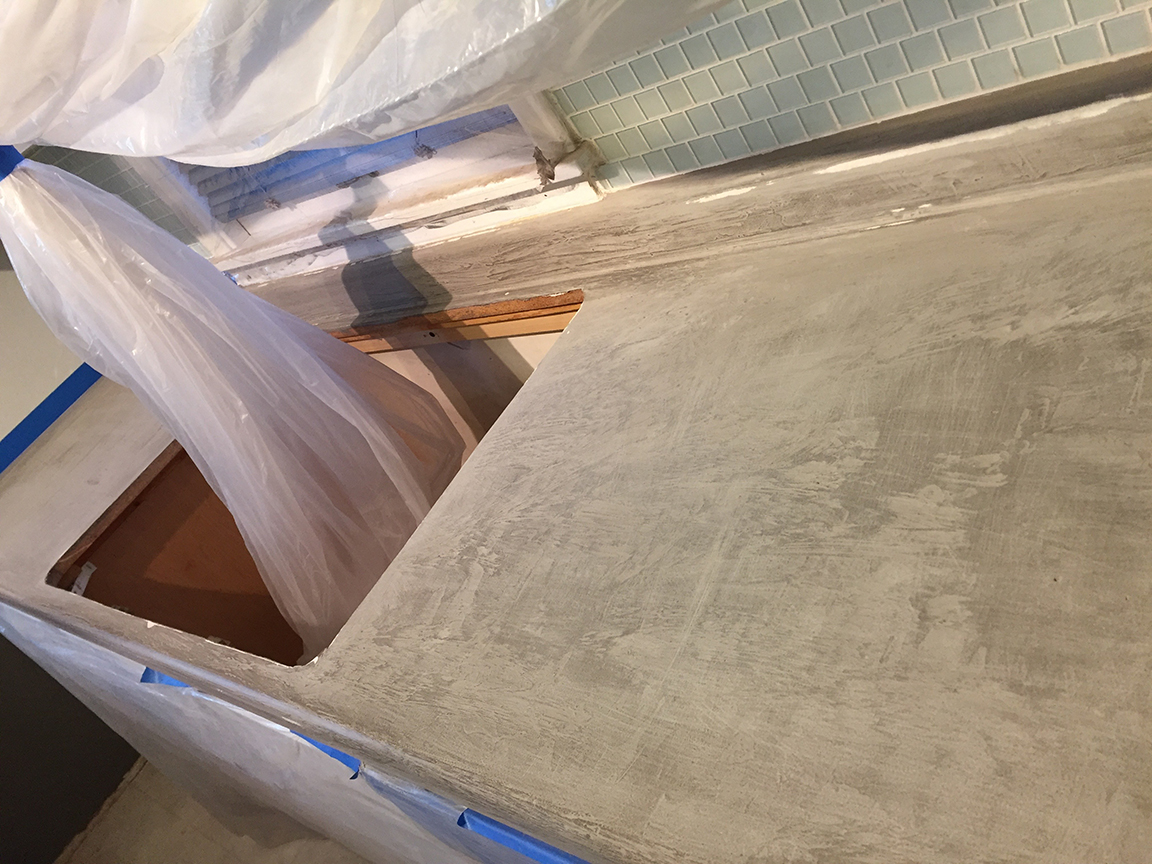
Here’s what the FeatherFinish will look like as it dries. Remember, now is the time to pull the tape! If you wait, it’ll get trapped under dry concrete. Pull that stuff now and resign yourself to taping anew with each coat.
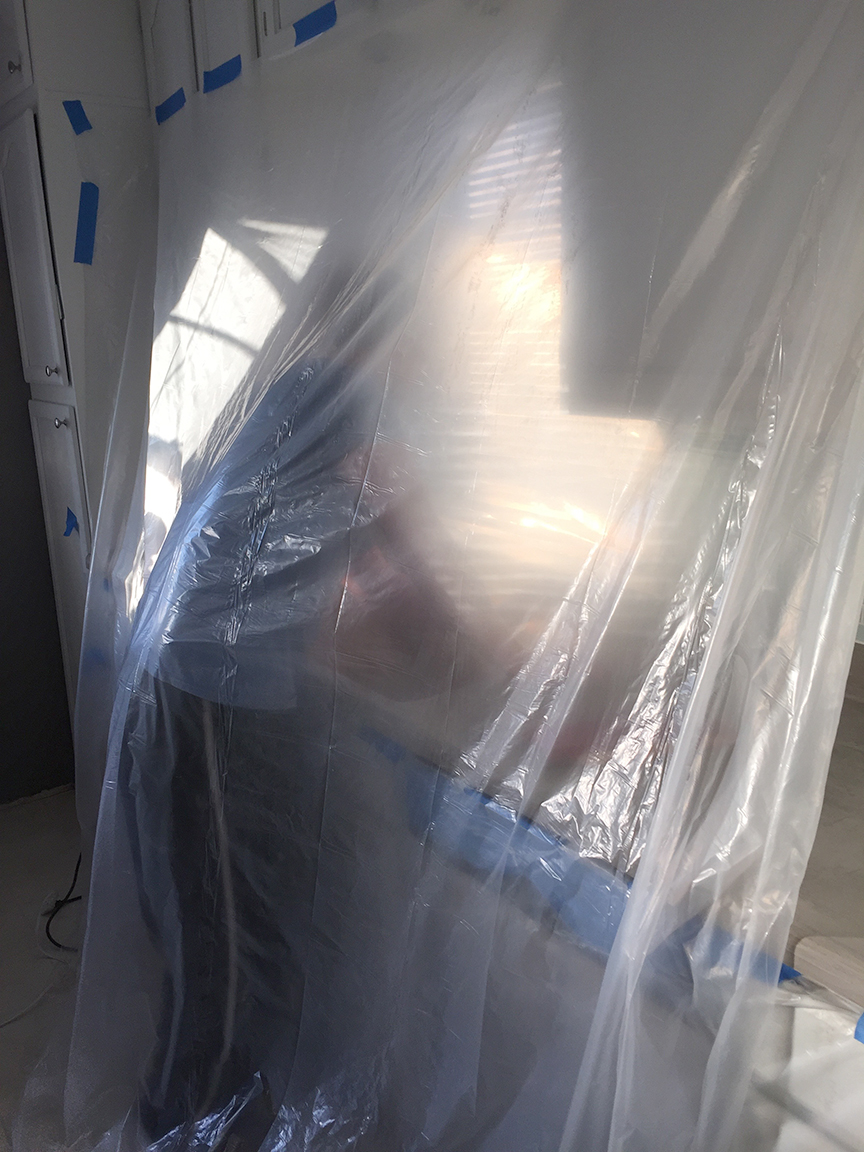
Next: Sanding. This is the part you’ll hate but careful (and even artful) sanding is what separates the men from the boys. Mask off the area with poly, you’ll be glad you did. You can use an orbital sander if that’s your thing but I recommend cutting a sanding block that’s as wide as you can handle and working in the direction of your countertops. Go like this: 60 grit for the high spots and nubbins, then 100, 150, and 220. You’ll probably sand right through the concrete (in places) that you just lovingly laid down. The stuff is REALLY strong but on the corners and edges, it’s just going to happen. No worries though. You’re going to do this right and you can simply cover those bare spots with coats two and three.
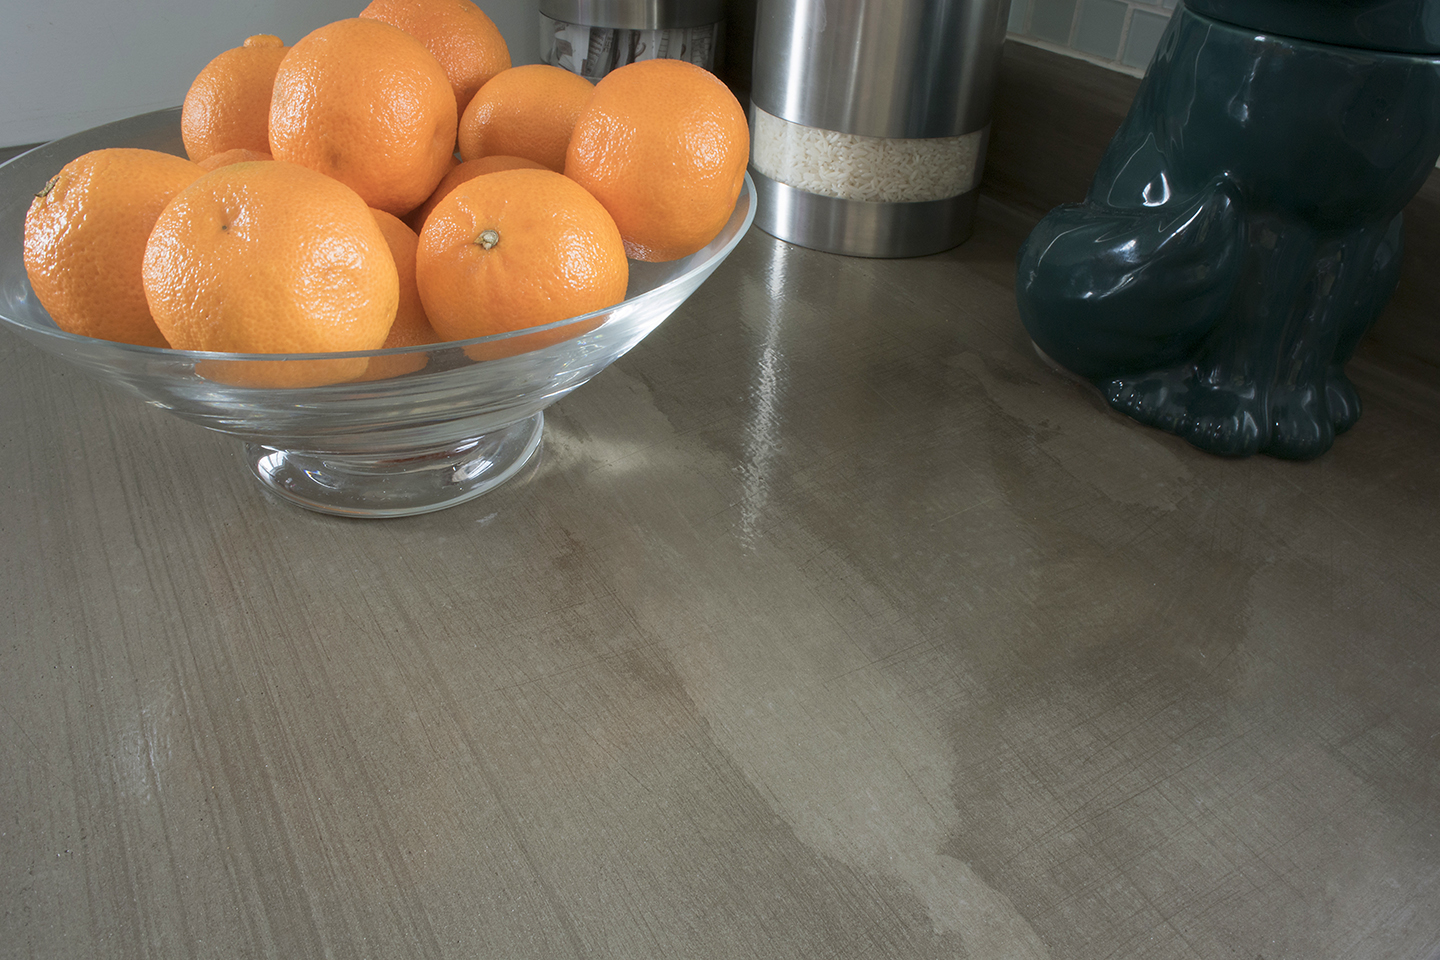
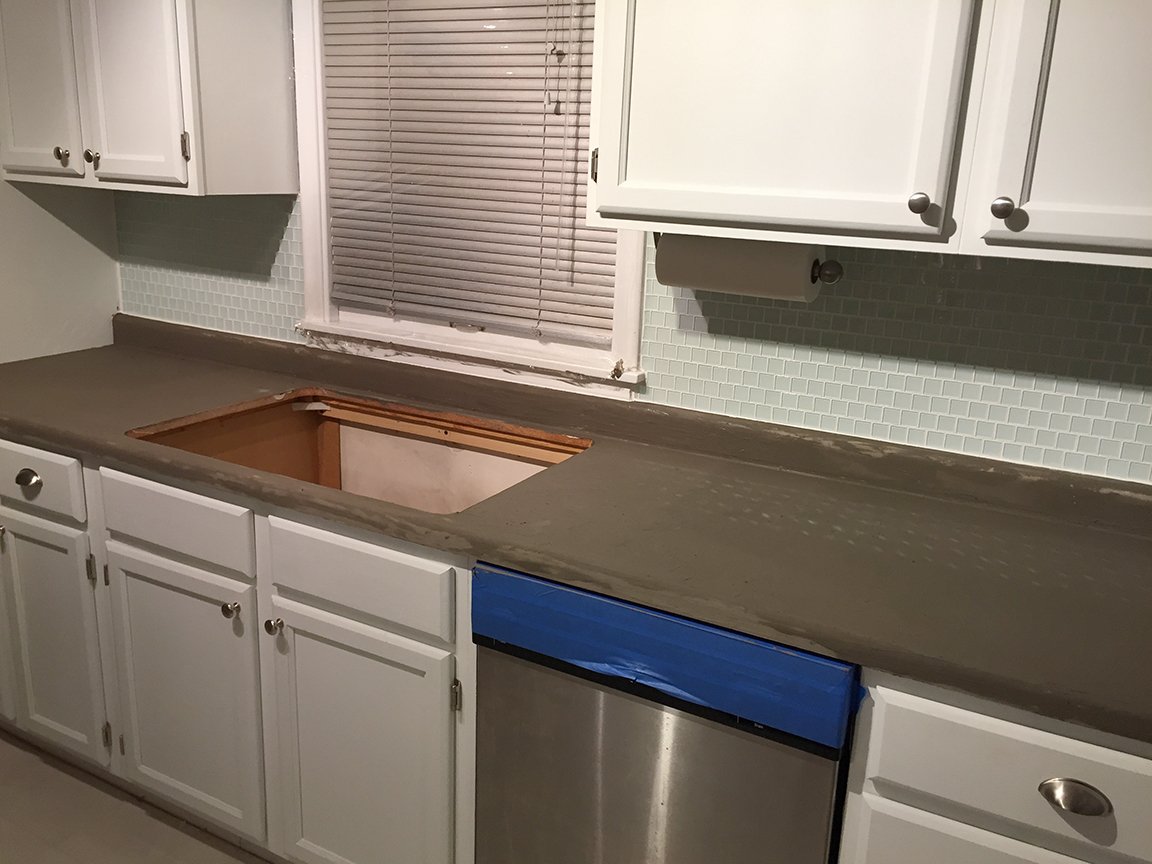
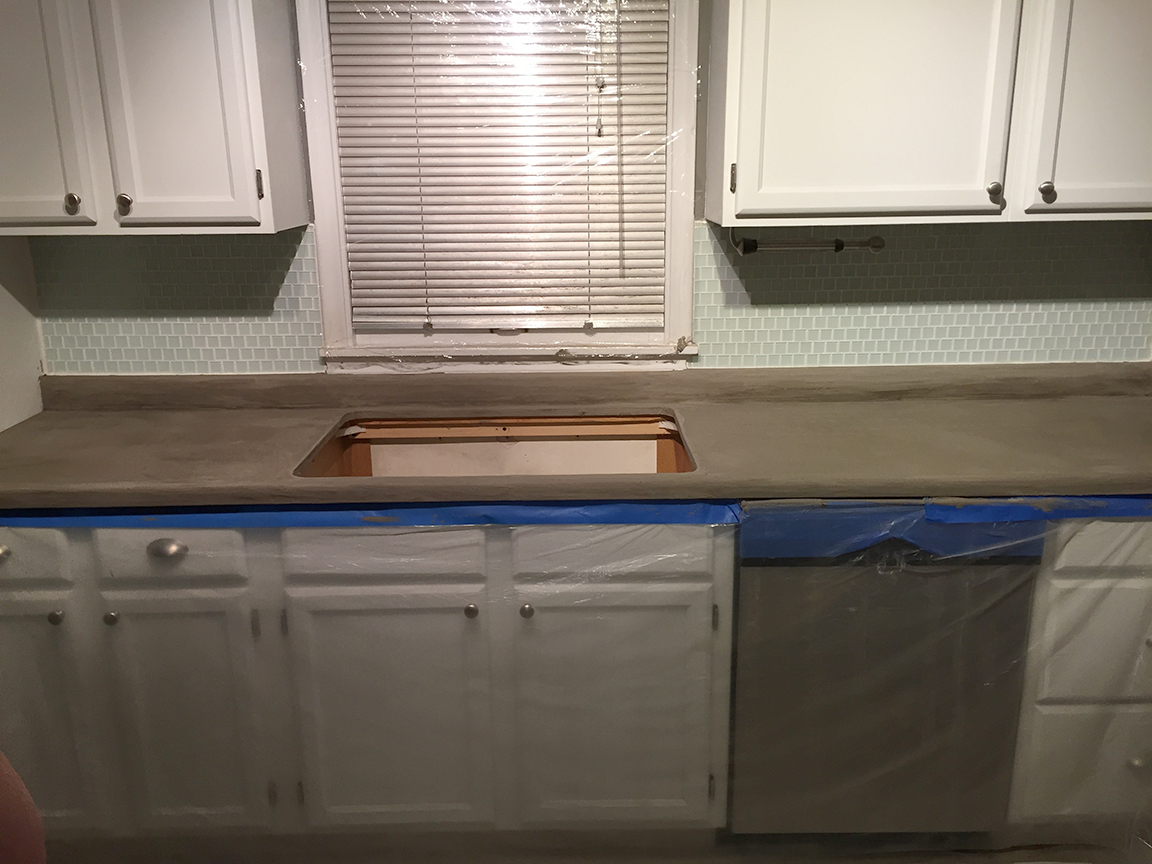
Remember how smooth and even the color looked before you sanded? This is how it looks after. Don’t be alarmed. This is concrete doing what concrete does. You can control the randomness and the lights and darks (to a degree) by applying and sanding multiple coats in the same direction. Also, when you apply the right sealer, these variances fade back.
Plop on another skim coat of concrete paying special attention to any uneven areas and places where you sanded through the previous coat. See how much more even the subsequent coats look?
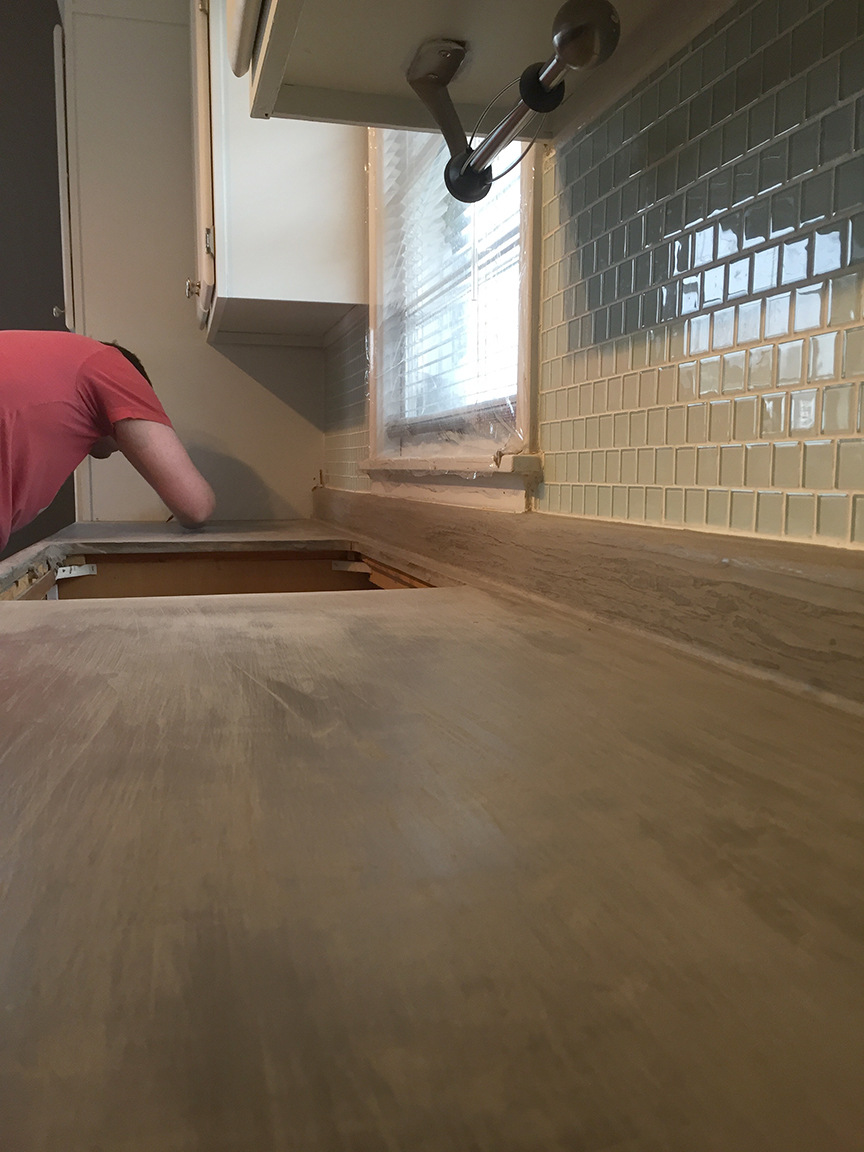
This is what I mean by sanding in the direction of your countertops. When people see our countertops they always ask us if they are made out of reclaimed wood. If you dig that look, be sure to apply and sand in in the right direction.
With our three skim coats applied, dried, and sanded, we’re finally ready for some sealer. Quality is job one at Project Dimmel, but efficiency has always been job number two. With that in mind, we like to use a roller whenever possible. We find that it speeds up the process and imparts the most even look to coatings, especially high gloss stuff like we are working with today. And what are we working with today? Not at liberty to say. Our friends at the Society for the Advancement of Space Age Polymers concocted a food-safe, diamond hard coating especially for Project Dimmel. You can’t get your hands on the stuff we used, I can only recommend that you ask your local stonemason for the toughest, food-safe concrete sealer available. Wear adequate protection when you apply it, if it’s strong enough to work, it’s strong enough to irritate your skin.
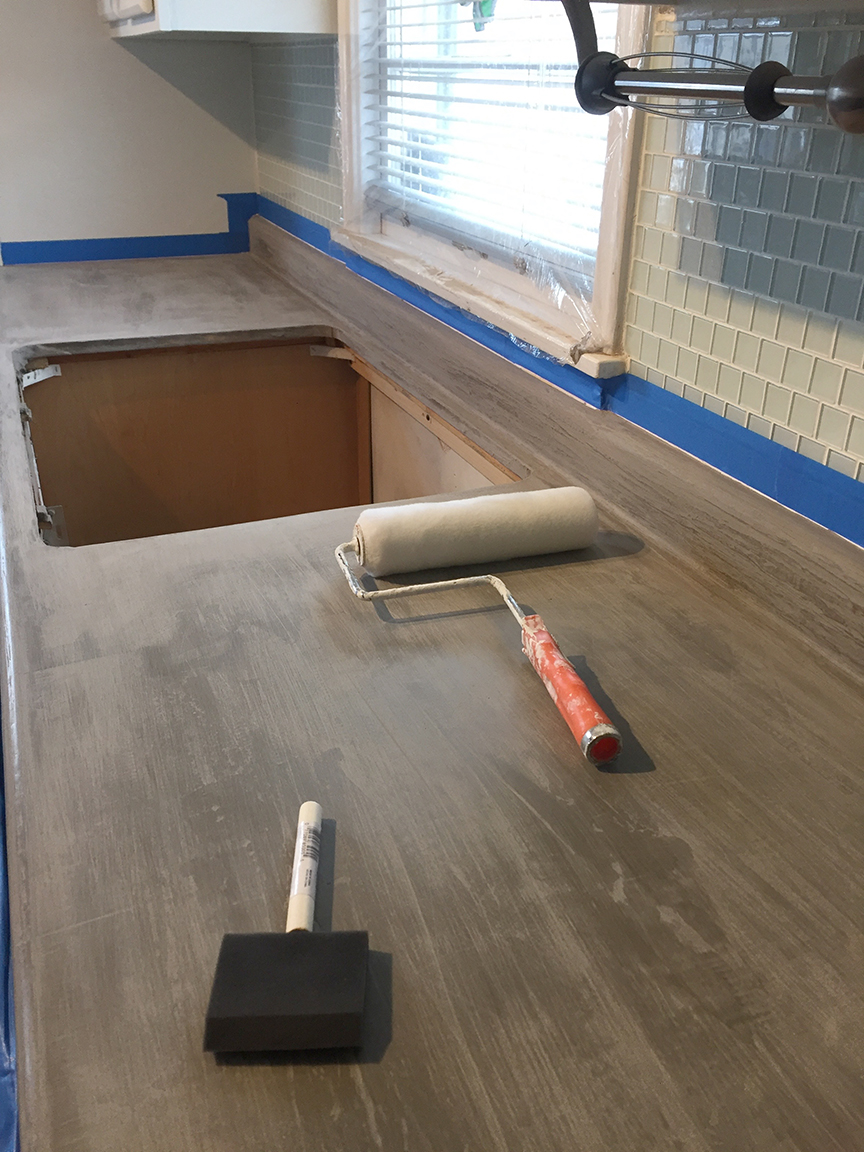
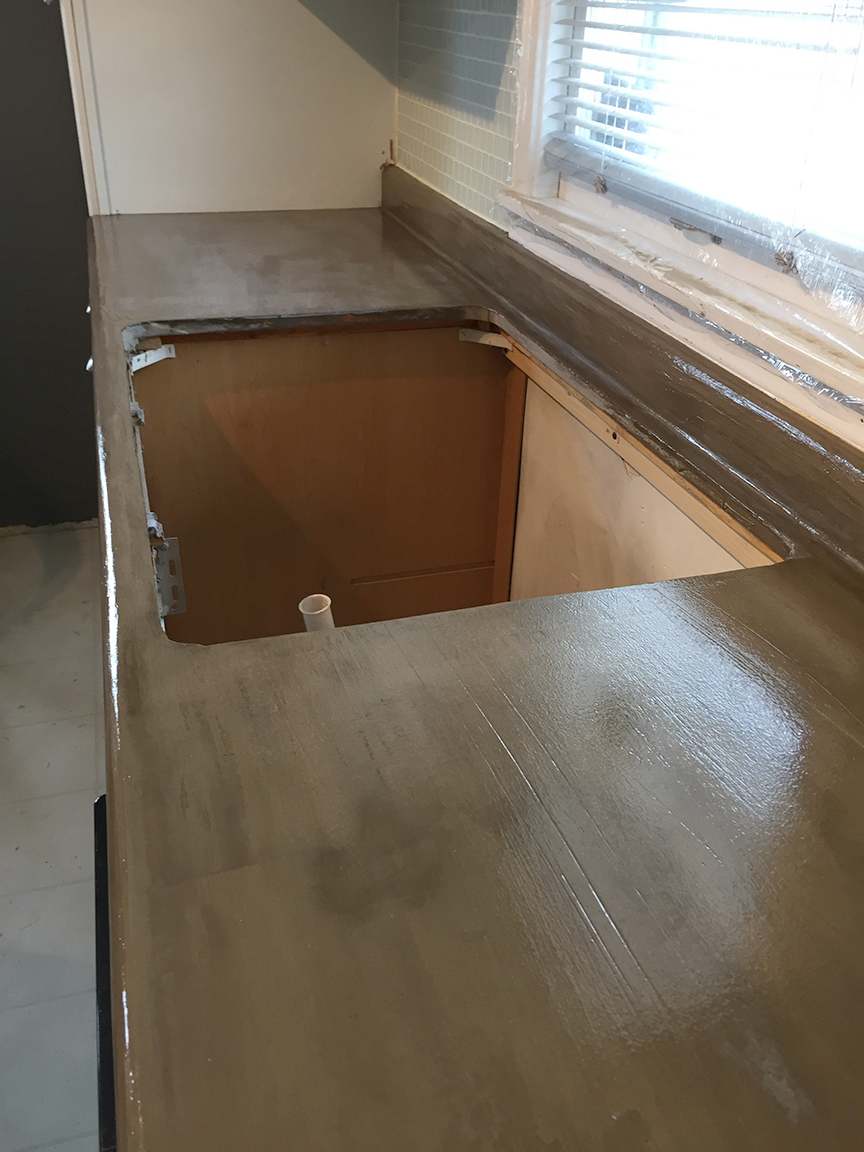
Here’s what it looks like with the sealer. A few things of note here; in spite of all the irregularities that appeared after sanding, the concrete will look much more uniform (closer to how it looked wet) when the sealer is applied. Also, concrete–while you might think it would be a neutral gray–has a bit of warmth to it. I like the look quite a bit but was not expecting it. Lastly, get in there and be sure that you cover EVERYTHING! Some sealers will leave tiny pinholes (voids in the topcoat) and if you get a contaminate into one of these voids it could stain the exposed concrete beneath.
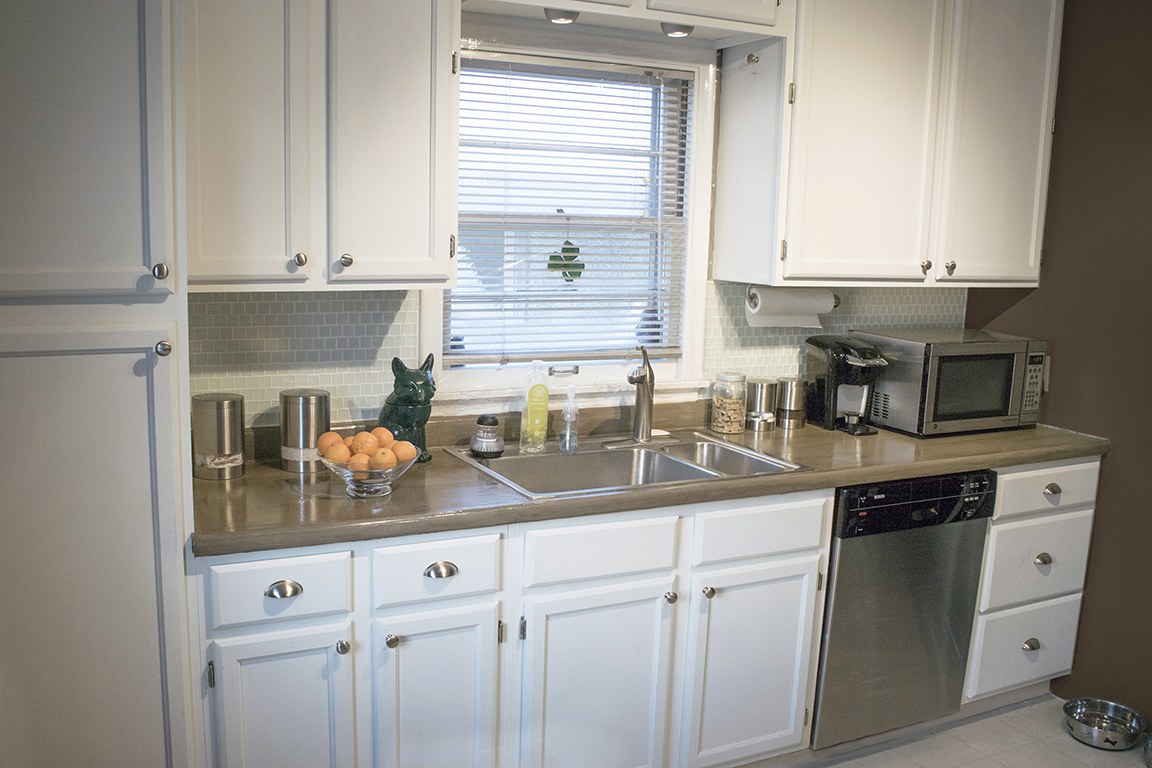
The final. So far we’ve dropped a number of Pyrex containers on this sucker and spilled gallons of wine and coffee on the countertop (stop judging me!) and it has withstood it all. All members of the Project Dimmel staff are in unanimous agreement on this one, a rare feat. Get in there, don’t be afraid. If you want this look for your house, you got it.



Recent Comments